
: Learn Video Editing Step-by-Step")
Video content is completely dominating the digital landscape in 2026. From engaging YouTube vlogs to viral Instagram Reels, content creators and businesses are constantly on the hunt for high-quality video content—and that is exactly where your opportunity lies.
If you are looking to learn a high-income skill this year, mastering video editing for beginners is the absolute best place to start. You don’t need a massive budget or a high-end PC. In this guide, I will teach you how to use CapCut step-by-step, transforming your smartphone into a powerful, money-making tool even if you have zero prior experience.
 📱 What is CapCut?
 📱 What is CapCut?
CapCut has revolutionized the editing industry. It is a highly intuitive, free video editing application available on both mobile devices and desktop computers.
Why it is the ultimate tool for video editing for beginners:
- User-Friendly: The learning curve is incredibly short compared to traditional software.
- Feature-Rich: It offers advanced features like auto-captions, background removal, and trending effects completely free.
- No Watermark: Unlike other free apps, you can easily remove the CapCut watermark at the end of your timeline for a completely professional look.
Whether you want to become a freelance YouTube editor or grow your own Instagram page, CapCut is the only tool you need to get started.
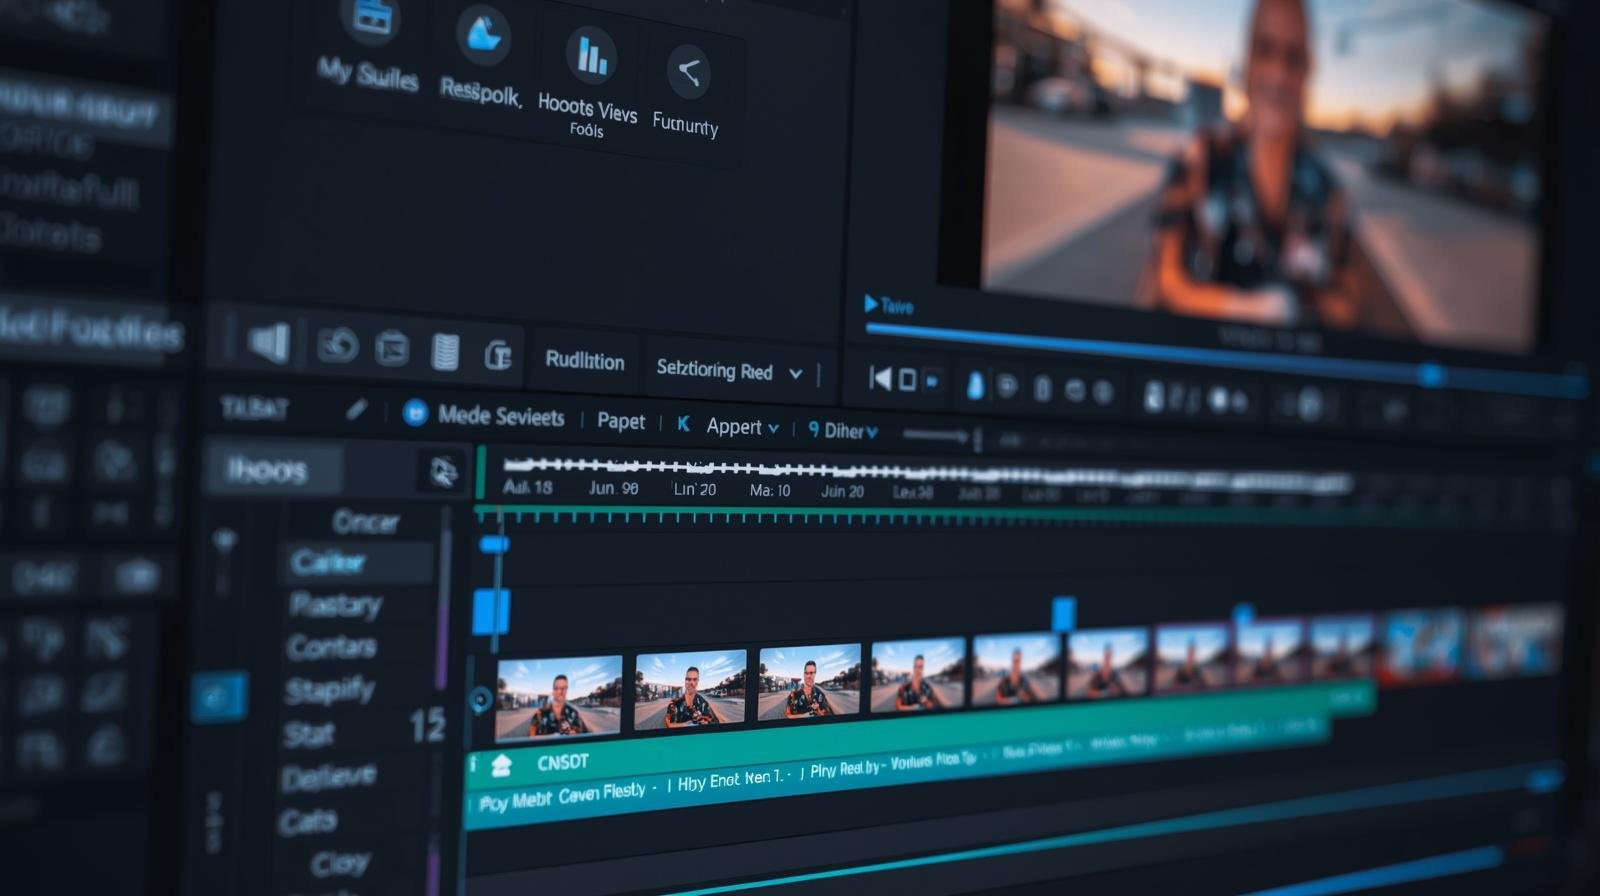
🎬 The CapCut Interface Overview
 🎬 The CapCut Interface Overview
When you first open CapCut, do not let the screen intimidate you. Mastering video editing for beginners is simply about understanding your workspace. Here are the three main areas you will use:
- The Timeline: This is the bottom half of your screen. It is your primary workspace where you cut, trim, and arrange your video and audio clips.
- The Preview Screen: Located at the top, this screen shows exactly what your final video will look like in real-time.
- The Toolbar: Found at the very bottom, this menu houses all your creative tools—effects, text, audio, overlays, and more.
🛠️ Step-by-Step: How to Start Your First Project
Let’s dive into the practical side of video editing for beginners. Here is how you build your first project from scratch.
Step 1: Create a New Project
Open the CapCut app and tap on the large “+ New Project” button at the top of your screen.
Step 2: Import Your Media
Your phone’s gallery will open. Select the video clips or photos you want to edit. Tap “Add” in the bottom right corner to bring them into your timeline.
Step 3: Arrange Your Clips
Hold and drag your clips left or right on the timeline to place them in the correct narrative order. A good video tells a logical story from start to finish.
✂️ Basic Editing Tools You Must Know
 ✂️ Basic Editing Tools You Must Know
To make your videos engaging, you need to master these four foundational tools:
- 1. Split (Cut): Move the white vertical line (the playhead) over a part of the video you want to remove. Tap the clip, then hit “Split.” You can now isolate and remove unwanted pauses or mistakes.
- 2. Trim: Tap the end or beginning of a clip and drag the thick white edge inward to shorten it. This keeps your video fast-paced.
- 3. Speed: Tap the “Speed” icon to create cinematic slow-motion shots or speed up a boring sequence.
- 4. Delete: Tap any split clip that contains a mistake and hit the trash can icon to remove it entirely.
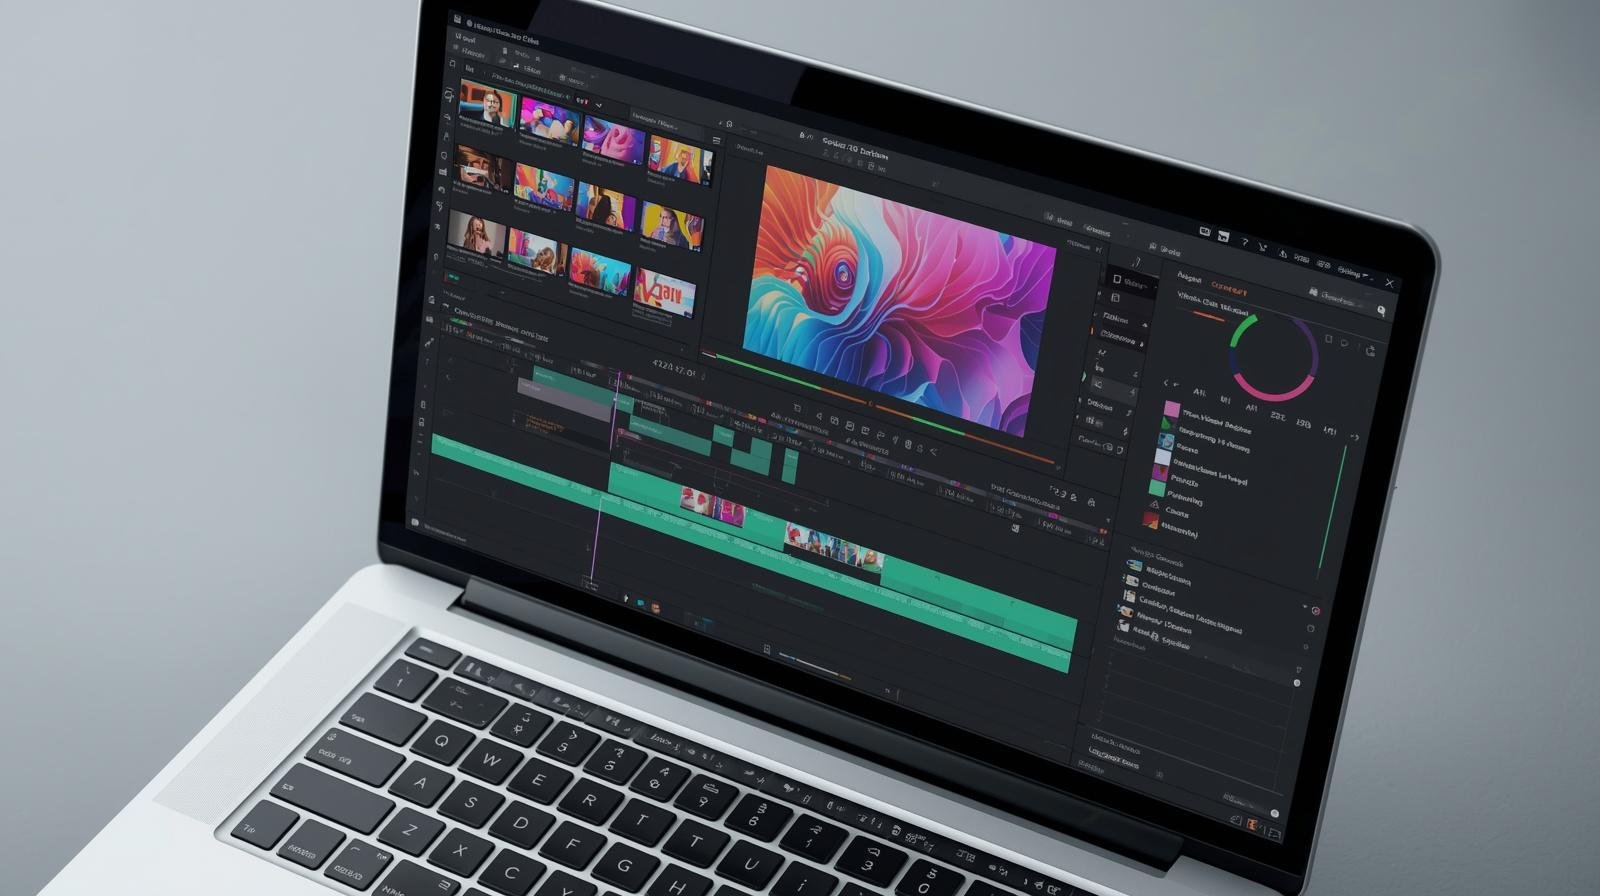
🎨 Adding Polish: Effects, Text, and Audio
 🎨 Adding Polish: Effects, Text, and Audio
Basic cuts are essential, but the polish is what makes a video go viral.
Dynamic Effects & Transitions:
Tap the white box between two clips to add a Transition. This smooths the jump from one scene to the next. Use Video Effects from the main toolbar sparingly to enhance your footage—remember, simplicity looks more professional than overusing flashy effects.
Engaging Text & Captions:
Subtitles drastically increase viewer retention. Tap Text > Add Text to create headings. For speaking videos, use CapCut’s Auto-Captions feature to automatically generate subtitles. You can customize the font, add animations, and choose brand colors to make them pop.
Music & Sound Effects:
Audio is 50% of the video experience. Go to the Audio section to add background music or record a voiceover directly. Always ensure your background music volume is low enough (around 10-15%) so it doesn’t overpower your voice.
📤 Exporting Your Masterpiece
 📤 Exporting Your Masterpiece
Once your edit is complete, it is time to save it to your phone. Always use the best export settings for social media:
- Resolution: 1080p (4K is often compressed too heavily by Instagram).
- Frame Rate: 30fps for regular talking videos, or 60fps for gaming or slow-motion edits.
- Hit the upward arrow at the top right to export!
💸 How to Earn Using CapCut
 💸
💸 Once you master these basics, you possess a highly monetizable skill.
- Reach out to local businesses and offer to create short-form content for their social media.
- Start a freelance profile and edit videos for YouTubers.
- Income Potential: Even as a beginner, you can realistically earn ₹5,000 – ₹30,000 per month by taking on just a few clients.
🧠 Final Advice & Mistakes to Avoid
 🧠 Final Advice & Mistakes to Avoid
The biggest mistake beginners make is ignoring audio quality or relying too heavily on crazy effects instead of good storytelling. Master the basics first. Practice editing for just 30 minutes every single day, and try recreating Reels that you already find engaging.
📢 Call to Action
Learning video editing for beginners is the easiest way to launch your digital career in 2026. But you don’t have to learn it alone.
👉 Want to master mobile editing with a comprehensive CapCut tutorial Malayalam? Join the Cutting Board Editing Academy! I have designed this platform specifically to take you from a complete beginner to a professional mobile video editor.
Click below to join the next batch and our exclusive WhatsApp community!


Comments are closed.